
Making Ink with Mushrooms!
Yep, as if nature couldn't give us more in this life to be our best selves, she managed to create mushrooms that can be alchemized into ink!

Scaly ink cap mushroom:
Coprinopsis variegata, commonly known as the scaly ink cap or the feltscale inky cap, is a species of fungus in the family Psathyrellaceae. Distributed in eastern North America, it has a medium-sized, bell-shaped to flattened cap up to 7.5 cm in diameter, with felt-like, patchy scales.
I was going on my morning walks a day after heavy rain (which, by the way, is the best time to see fungi). I walked upon this beautiful and exciting cluster of mushrooms. I didn't know what it was, but I had to find out. I learned they are called "Scaly ink cap mushrooms." the name caught my attention, "ink"? I wonder... You can make inks with certain plants and nuts, but I have yet to learn how to make them with mushrooms.

I did a quick Google search and learned how to make ink with ink cap mushrooms, so I went back and collected a small part of the cluster. Fortunately, unfortunately, someone or something knocked the cluster off its base. This cluster grew on a hell strip with much foot traffic, so I didn't feel bad taking it. I also left enough in the area, hoping the spores would regrow again when the environment was suitable.
Let’s make some ink!
What you will need:
Glass bowl
Cheesecloth
1 tsp of salt
Eight full Cloves
1/4 cup filter water
Plastic jar
Empty jars
Parchment paper
Gloves (the ink doesn’t stain the hands or plastic, but just in case)
Of course, 6-10 caps of Scaly Ink Cap mushrooms.

I collected a part of the cluster.

Scaly ink caps start to dissolved
When you decide to harvest Scaley Ink Cap Mushrooms, have a glass or plastic jar to place them in. I suggest collecting the caps and not the stems. The caps will dissolve within 2-4 days, also when the earthy smell starts. Don't worry; we will handle the smell in the upcoming steps.

Removed as much of the stem as possible.

Glass bowl

cheesecloth

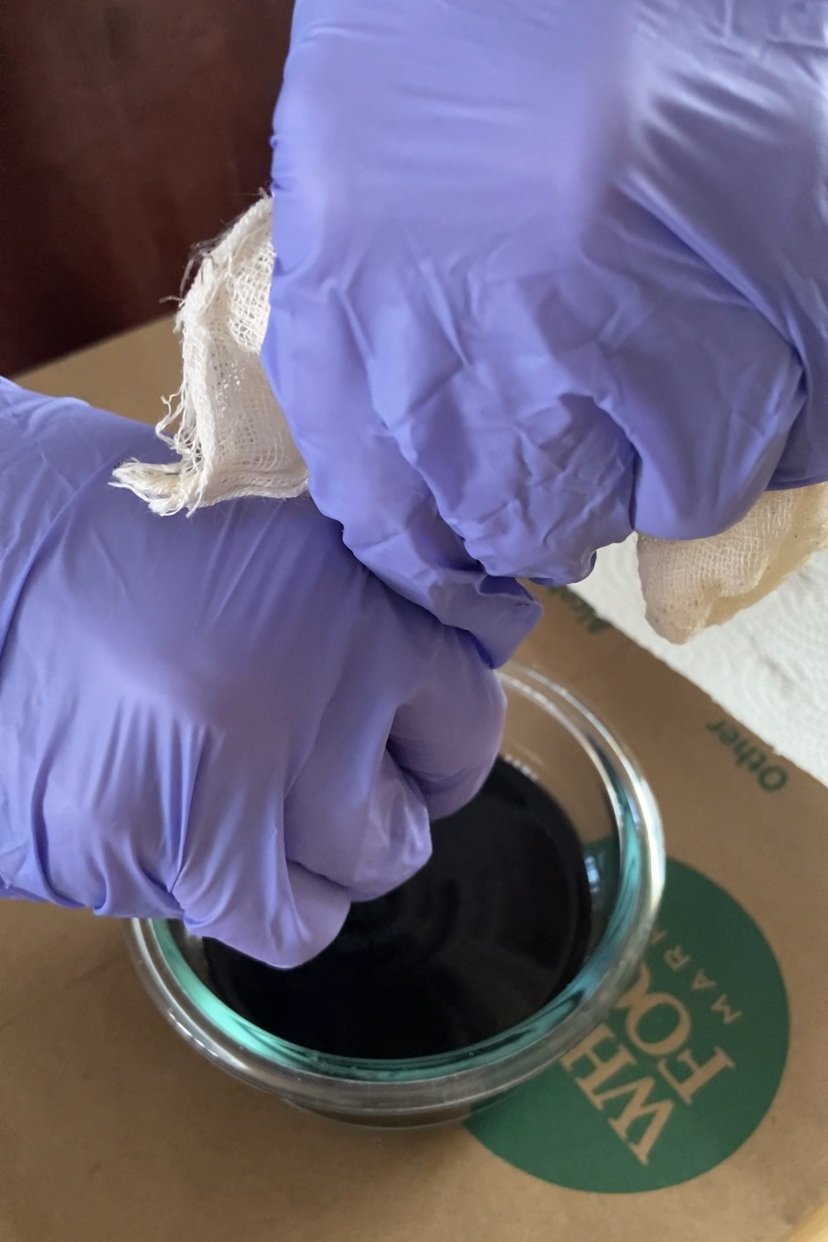
Strain the ink through the cheesecloth into the glass bowl.

Try to get as much out. You'll notice that a little goes a long way.

Now you can add the salt. This helps kill any bacteria.

Mix the salt with the ink until the salt dissolved.

Create a double boiler with the glass bowl, and add the cloves and 1/4 cup of filter water.
The cloves fix the ink, prevent it from fading or running, and cover the smell of the mushroom.
Keep at a low heat for 30 mins.

As the ink heats up, it will thicken.
Let the ink cool for 2 hours before the next steps
Strain the cooled ink into another bowl.

You can now transfer the ink into any jars you desire.
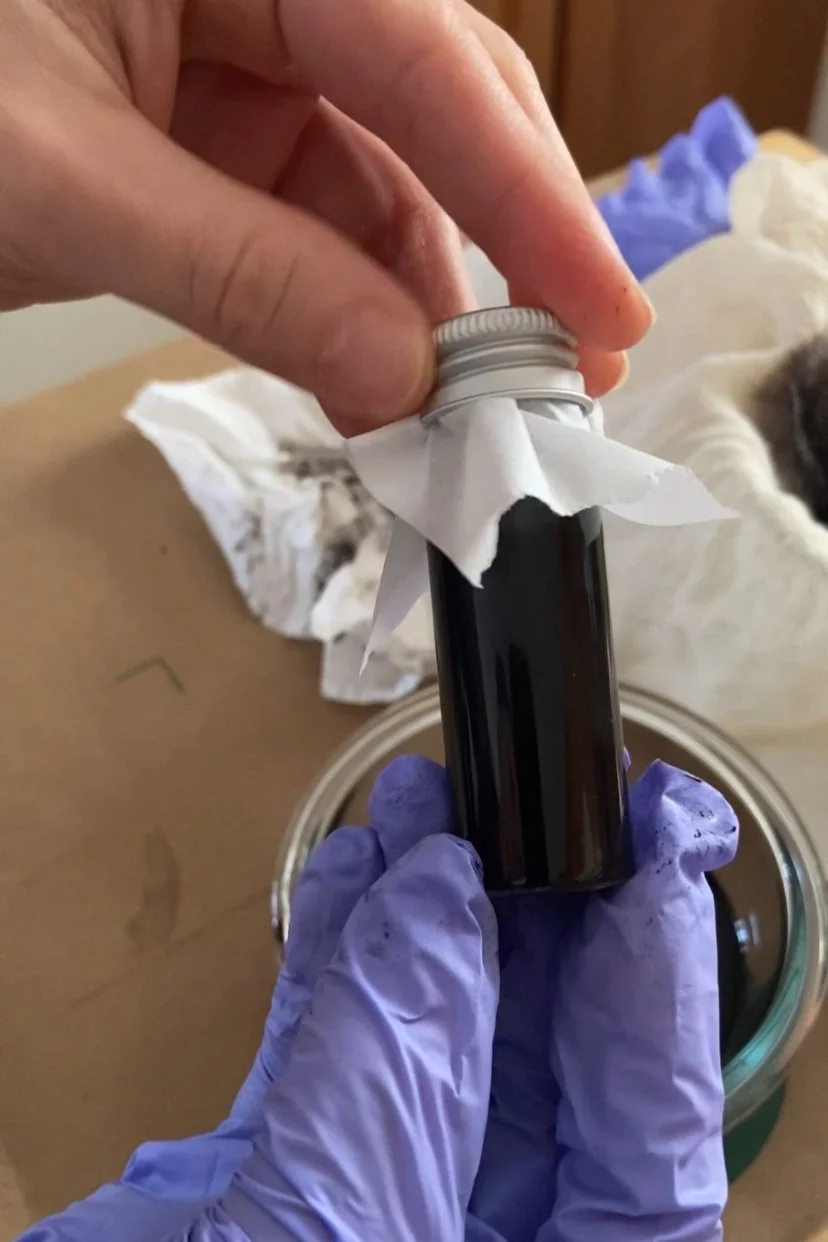
I've purchased these jars at the Dollar Tree.

I placed the parchment paper to separate the plastic top from the ink. It's a habit I've gained from making tintures.

I test the ink while it was cooking to document the changes and note what I will do differently next time.

This process will help keep the ink longevity for 12 months.

The next day, I noticed separation. The ink pigment settled to the bottom, but no worries—you can just mix or shake the bottle, and the ink works just fine.

This ink has become my new favorite medium.
Have you made ink with mushrooms? What other art mediums have you used mushrooms for?
Let me know if you follow these steps. I want to see what you create with this ink.